
Ok, here we go!
The recipe:
Brownies:
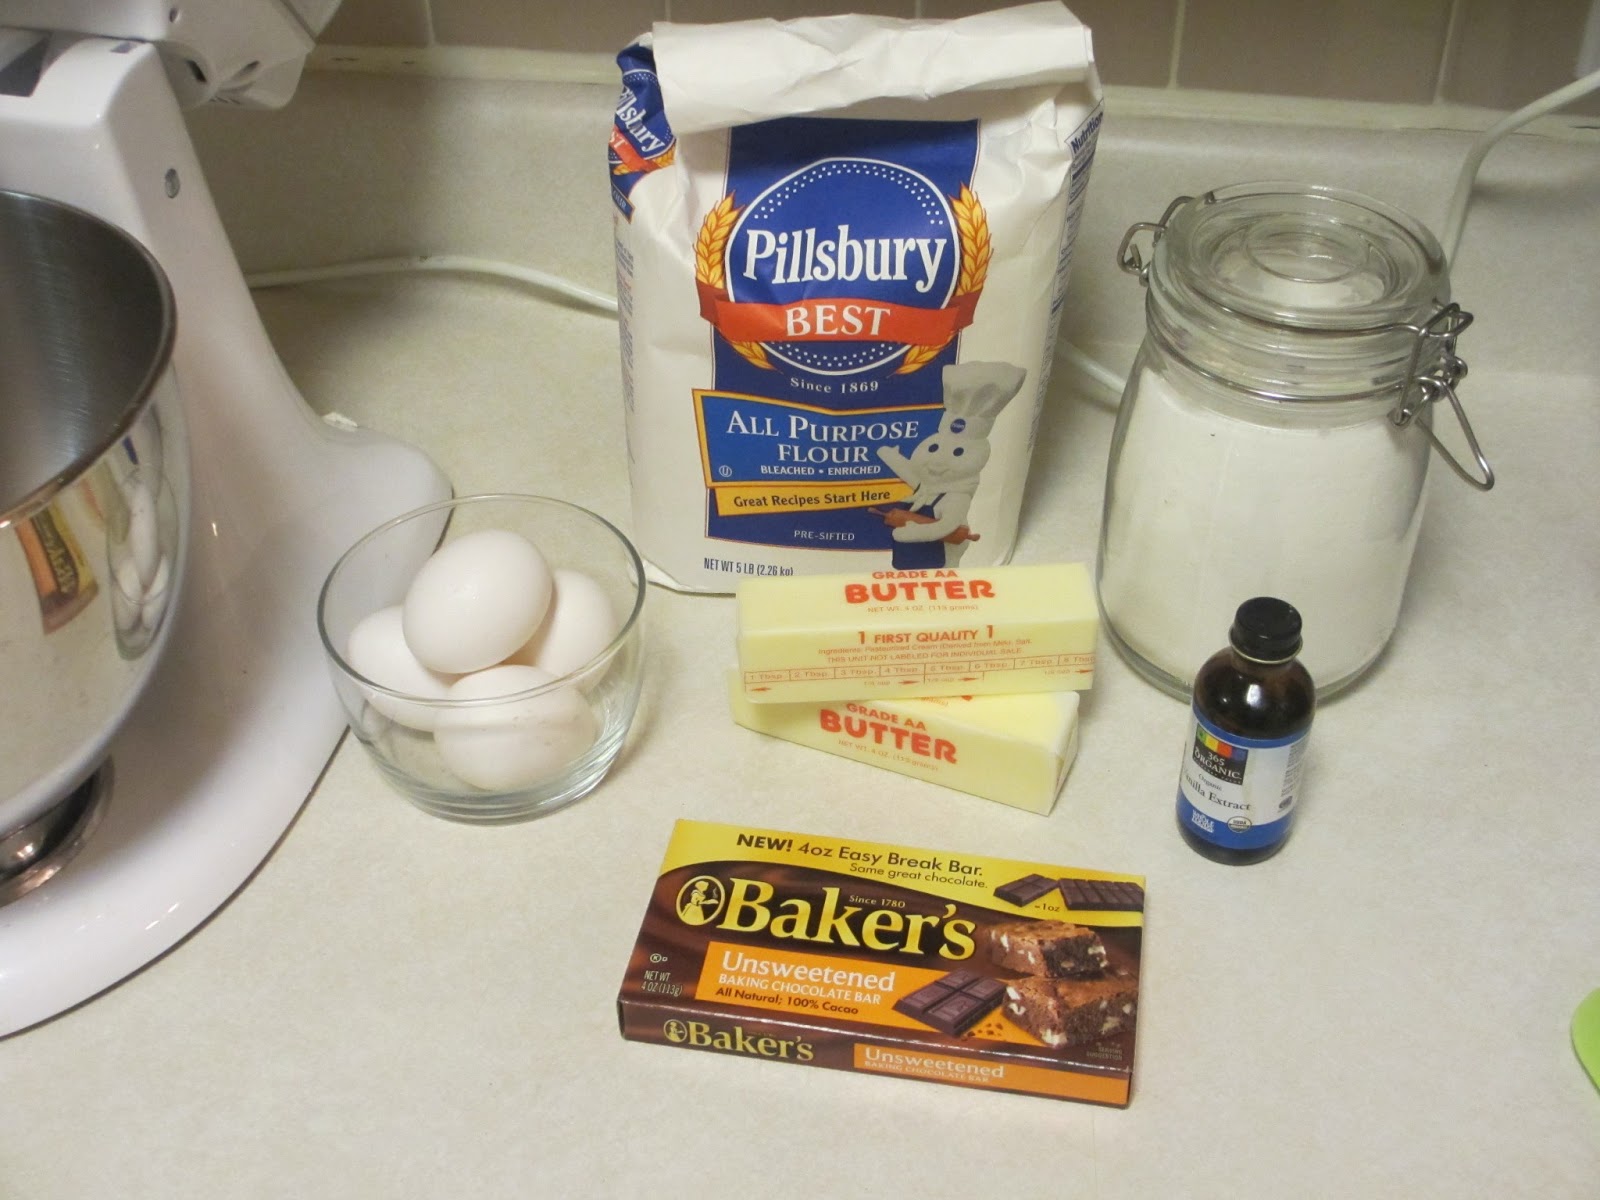
4 ounces (weight not volume) Unsweetened Chocolate
2 sticks (1 Cup) Butter
2 cups Sugar
4 whole Eggs
3 teaspoons Vanilla Extract
1-1/4 cup All-purpose Flour

Icing
4 ounces (weight not volume) Unsweetened Chocolate
2 sticks (1 Cup) Butter
2 cups Sugar
4 whole Eggs
3 teaspoons Vanilla Extract
1-1/4 cup All-purpose Flour
Icing
2 sticks (1 Cup) Butter, Softened
5 cups Powdered Sugar
1/4 cup Cocoa Powder
1/4 teaspoon Salt
3 teaspoons Vanilla Extract
1/2 cup Strongly Brewed Coffee, Cooled (more To Taste)

Preheat the oven to 325*. Spray an 8-inch square baking pan with nonstick baking spray. Or a 9-inch square pan (that's what I used). Or a 9 x 13 if you want them to be a little thinner. The 8-inch makes them pretty thick.
For the brownies:
Place the chocolate in a microwave-safe bowl. Melt it in the microwave in 30-second increments, stirring in-between. Be careful not to let it burn!!! Set it aside to cool slightly. Do not let it cool so much that it starts to solidify though.


In a medium mixing bowl, cream the butter and granulated sugar. Then beat in the eggs.


With the mixer on low speed, drizzle in the melted chocolate. Make sure it isn't still warm, as that will cause the eggs to scramble, which will ruin your batter.

Add the vanilla extract and mix.

Add the flour to the bowl and mix just until combined; do not over mix.


Pour the batter in the prepared baking pan. Spread it to even out the surface.

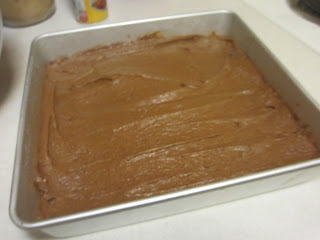
Bake until the center is no longer soft, 40 to 45 minutes. Set the brownies aside to cool completely before icing.


For the icing:
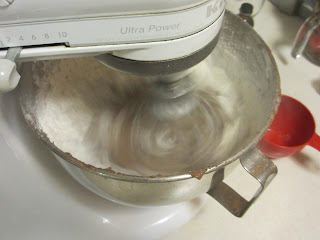
In a large mixing bowl, combine the butter, powdered sugar, cocoa powder, salt and vanilla. Mix until slightly combined, then add 1/2 cup of the coffee.


Whip until the icing is light and fluffy. If the icing is overly thick, add 1/4 cup more coffee. It should be very light and fluffy. If you add too much coffee, just add some more powdered sugar.

You are now ready to frost the brownies!!!! I think we all know how to do this. Just make sure the brownies are cool, otherwise the frosting will melt when you put it on them.
Also, this recipe makes a lot of frosting, so feel free to add as much or as little frosting as you prefer (I prefer a lot!)


Refrigerate until the icing is firm, and then slice the brownies into VERY SMALL squares. A little goes a long way!
Then, ENJOY (which I know you will!!!!) :)


5 cups Powdered Sugar
1/4 cup Cocoa Powder
1/4 teaspoon Salt
3 teaspoons Vanilla Extract
1/2 cup Strongly Brewed Coffee, Cooled (more To Taste)

Preheat the oven to 325*. Spray an 8-inch square baking pan with nonstick baking spray. Or a 9-inch square pan (that's what I used). Or a 9 x 13 if you want them to be a little thinner. The 8-inch makes them pretty thick.
For the brownies:
Place the chocolate in a microwave-safe bowl. Melt it in the microwave in 30-second increments, stirring in-between. Be careful not to let it burn!!! Set it aside to cool slightly. Do not let it cool so much that it starts to solidify though.


In a medium mixing bowl, cream the butter and granulated sugar. Then beat in the eggs.


With the mixer on low speed, drizzle in the melted chocolate. Make sure it isn't still warm, as that will cause the eggs to scramble, which will ruin your batter.

Add the vanilla extract and mix.

Add the flour to the bowl and mix just until combined; do not over mix.


Bake until the center is no longer soft, 40 to 45 minutes. Set the brownies aside to cool completely before icing.


For the icing:
In a large mixing bowl, combine the butter, powdered sugar, cocoa powder, salt and vanilla. Mix until slightly combined, then add 1/2 cup of the coffee.


Whip until the icing is light and fluffy. If the icing is overly thick, add 1/4 cup more coffee. It should be very light and fluffy. If you add too much coffee, just add some more powdered sugar.

Also, this recipe makes a lot of frosting, so feel free to add as much or as little frosting as you prefer (I prefer a lot!)


Refrigerate until the icing is firm, and then slice the brownies into VERY SMALL squares. A little goes a long way!
Then, ENJOY (which I know you will!!!!) :)
*Editors note: I took the first picture below before I let them cool for a while. I was too impatient and wanted to eat one!
The second picture is from The Pioneer Woman's website, and is what they look like if you cut them after they have been in the fridge for a while. Again, I need to give credit where credit is due on that picture, since it isn't mine.


