First off, I need to apologize for taking an almost 3-month break between posts. What kind of a blogger does that?!?!? Anyways, I am back, and as you can tell by the title of this post, I am making up for my brief hiatus with a real doozie of a dish: Turducken.
Yep, you hear me right: Turducken.
Don't you just love saying it?
Turducken.
Now, for those of you who do not know what this is (are there actually people who don't?), it is a deboned chicken stuffed into a deboned duck, then stuffed into a deboned turkey (Turkey + Duck + Chicken = Turducken- get it?) and I made one for Easter. Yes- I said Made. No I didn't order one online like everyone else, throw it into the oven and take credit for just cooking it. I actually made one. From scratch.
I've actually been waiting a long time to do this, so I finally decided to tackle it. And, although I only had 4 people over for Easter, I still wanted to do it.
So, without further ado... here's my first ever Turducken!
Let's begin:
First step- buy a turkey, a duck, and a chicken from your local grocer or butcher.
Then, before you start, lay out all the tools you could possibly need before you go and get yourself elbow-deep in poultry guts. Here's what I had on hand:
- An Apron, and clothes that you don't mind getting poultry "juices" all over.
- A bowl of hot soapy water in the sink (for rinsing your hands in)
- A large strainer in the sink (for all the bones and guts)
- many dish rags
- many paper towels
- your kitchen trash barrel
- 3 large bowls or dishes to put the meat into once you have deboned the birds
- a couple good,small, SHARP knives (I Highly recommend this knife that I get from my local Outdoor Store).
- a large cutting board that is safe to put raw poultry on
Oh, and if your birds are frozen, make sure they are thoroughly (and properly) defrosted before you begin!
First up- the chicken!
(*disclaimer: if you are grossed out by graphic pictures of poultry, you should not go any further!!)
Now, deboning a bird is not as hard as you think. Trust me. I mean, there aren't a lot of bones in it, so you just need to make a few cuts, then pull the bones out. But, if you want to do some research before you begin, there are plenty of videos out on the interweb if you want to watch a few before you try this.
To start, clean out the cavity, rinse the bird, then pat it dry with paper towels.
Then, cut out the spine.
Once that is out, snap the joints connecting the wings and the thighs from the body, separate any meat from the rib cage, then remove the chest cavity.
Now all that is left to remove are the legs and wings.
To remove the wings, you first need to cut off the wing tips (if they are still on the bird).
Then break all joints with your knife, and carefully pull out the bones.
When you are done, you will have a completely boneless bird. Just meat and skin.
Here's what that whole process looks like, as step-by-step as I could get:
When you are done with the chicken, pop it in the fridge to stay cool, then get the duck out and repeat the same process.
When the duck is boneless, pop it back in the fridge with the chicken and start the turkey.
This process is a little different though, because all you need to remove from the turkey is the rib cage. Not the legs or wings.
When the turkey is done, get the other birds, as well as your stuffing (which should be uncooked and COLD!) and get ready to assemble the beast!
Lay out the turkey, and put a thin layer of stuffing down.
Then remove all the duck meat from the skin, lay that on top of the turkey stuffing, then lay another thin layer of stuffing on top of the duck.
Repeat with the chicken, being sure to remove the meat from the skin (you do NOT want all that skin inside this thing!)
Once all the layers of bird and stuffing are layered, it's time to tie this thing up. Literally.
I used poultry ties, but next time I will just use a ton of twine to tie it all up. That would have been a lot easier than what I did.
Once its all tied up, its time for the oven!
Now, normally I do not use oven bags, but I had a LOT of food to cook in my oven this day (after all, it was Easter), so I used a bag to speed up the process.
Then I popped it into a preheated 375* oven for about 2 hours (without the bag it can take up to 4 hours), or until the internal temperature reaches 160*.
After you remove the beast from the oven, let it rest for a little whole before carving it.
Once you are ready, get a nice sharp knife and slice away!
This is about the point in my day where I needed my hands for food instead of pictures, so I don't have too many, but here are a couple I snagged with my phone before I put the turducken on the table.
Now, I know mine doesn't look as perfect as others you may have seen on the Internet, but considering this was my first time making it, I think it looks pretty good.
Anyways, that's it! Turducken!
Hope you enjoyed this post. And again, my apologies for it being so late. Hopefully my next post doesn't take so long.
Until then... happy cooking!
Oh, and here are a few more shots of the entire Easter feast.
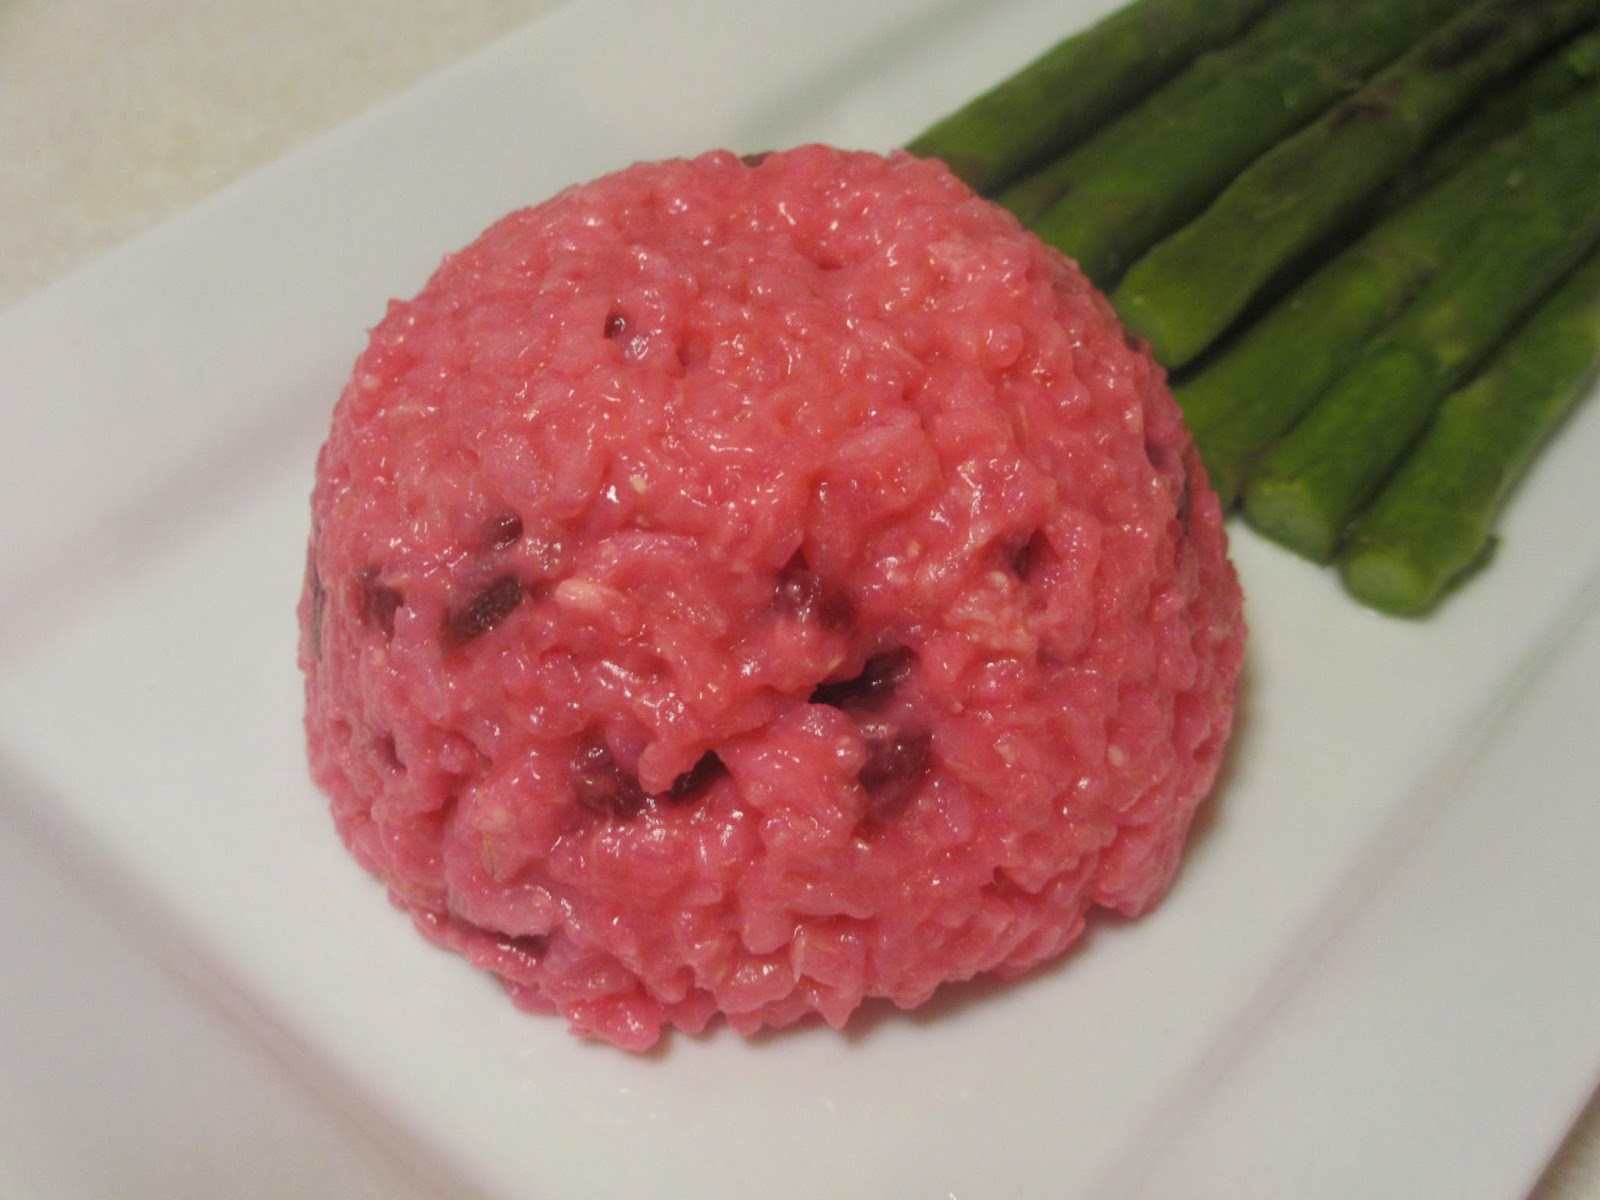
Turducken, spinach and mushroom quiche, fruit salad, pastries, scalloped potatoes, home fried potatoes, asparagus, butternut squash, and cranberry sauce. And gravy. And Peeps.
xoxo